1. Sign in and create a workspace
Sign in to DigiLookbook. If this is your first lookbook, follow the prompts to name your workspace and lookbook. Choose a personal workspace for yourself or a team workspace for a brand.2. Choose a starting point
Open Templates to preview a design and select Use template, or start with a blank lookbook. For a blank lookbook, choose the page shape and book settings. Give the lookbook a name and create it.3. Add your collection
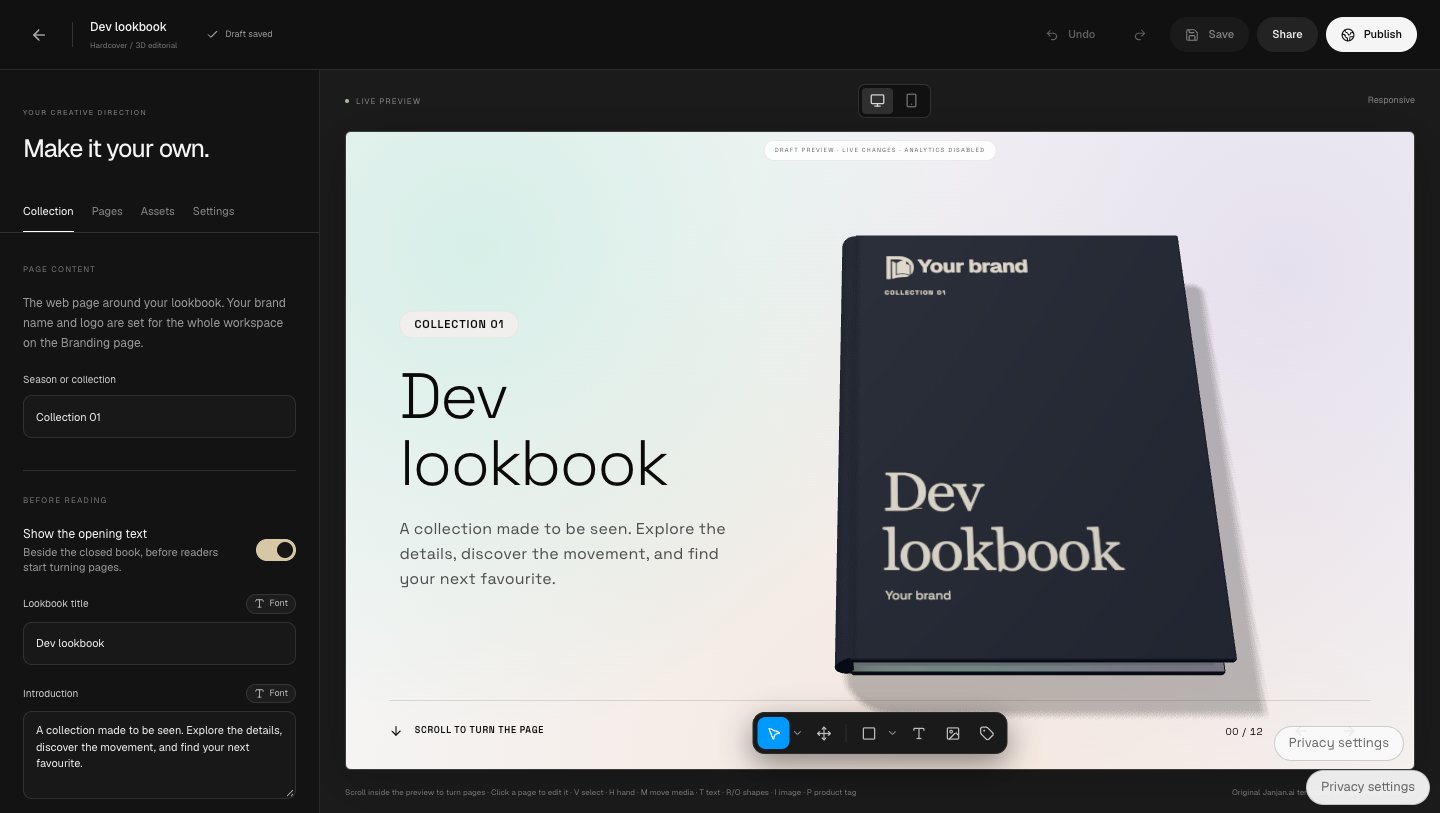
Open the lookbook editor. Use Assets to upload images or videos, and Pages to select pages and add or replace media. You can adjust the cover, page layouts, text, and other elements in the editor.